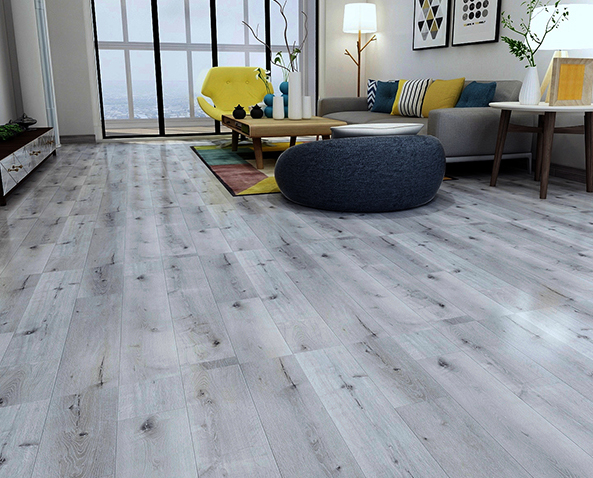
Bienvenidos a Langfang-bonai
How to install PVC vinyl flooring
How to install PVC vinyl flooring
PVC vinyl base panels have become a popular choice for many households and businesses due to their durability, ease of cleaning, and aesthetics. Installing PVC vinyl flooring is a DIY project that anyone can use appropriate tools and a little patience to complete. In this article, you will describe the basic steps for installing PVC vinyl flooring at home or in a business.
Required materials:
- PVC vinyl flooring
- PVC vinyl base plate adhesive
- Tape measure
- pencil
- cutter knife
- Hand roller
- scraper
Step 1: Prepare well before installation to ensure that the ground is clean, dry, and level. If necessary, level and completely dry the ground before continuing. In addition, remove any previous carpets or floors and ensure that there is no glue or dirt on the floor.
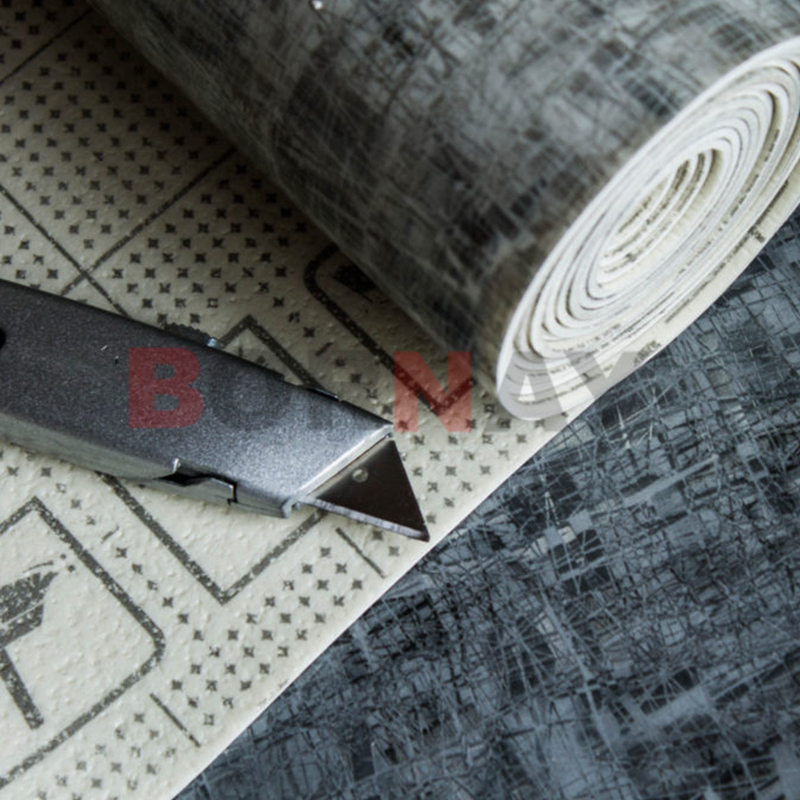
Step 2: Measure and cut the length and width of the room, and multiply these two values to obtain the total number of PVC vinyl flooring required. Ensure that more materials are added to the cutting and waste materials. Mark the cutting line on each piece of paper with a pencil based on the size of the room. Then, use a knife to cut the foil according to the cutting line.
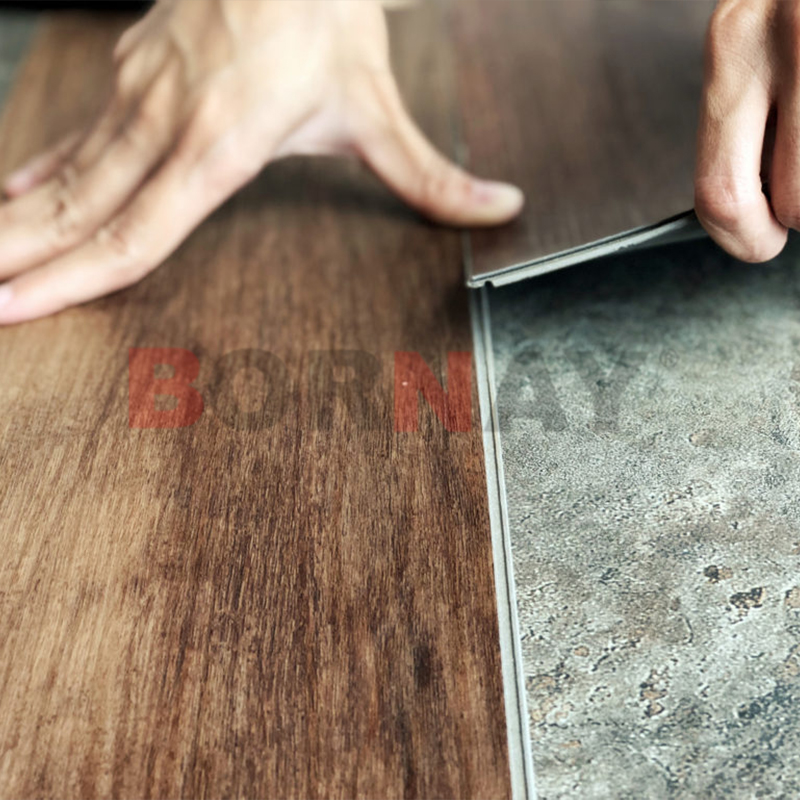
Step 3: Use adhesive to apply PVC vinyl floor adhesive to the floor surface by hand. Ensure uniform coverage of the entire surface and avoid excessive adhesive.
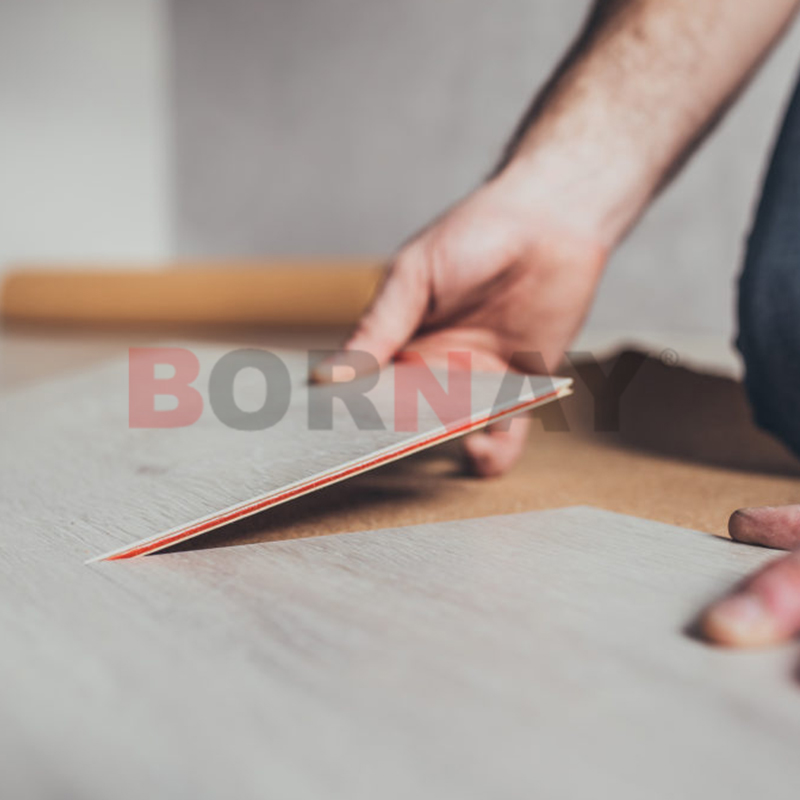
Step 4: Place the floor. Place the first layer of PVC vinyl floor in the corner of the room, ensuring that it aligns with the wall. Press the foil into place and use a scraper to remove any bubbles. Continue to place PVC vinyl flooring in the room, ensuring they are aligned and level.
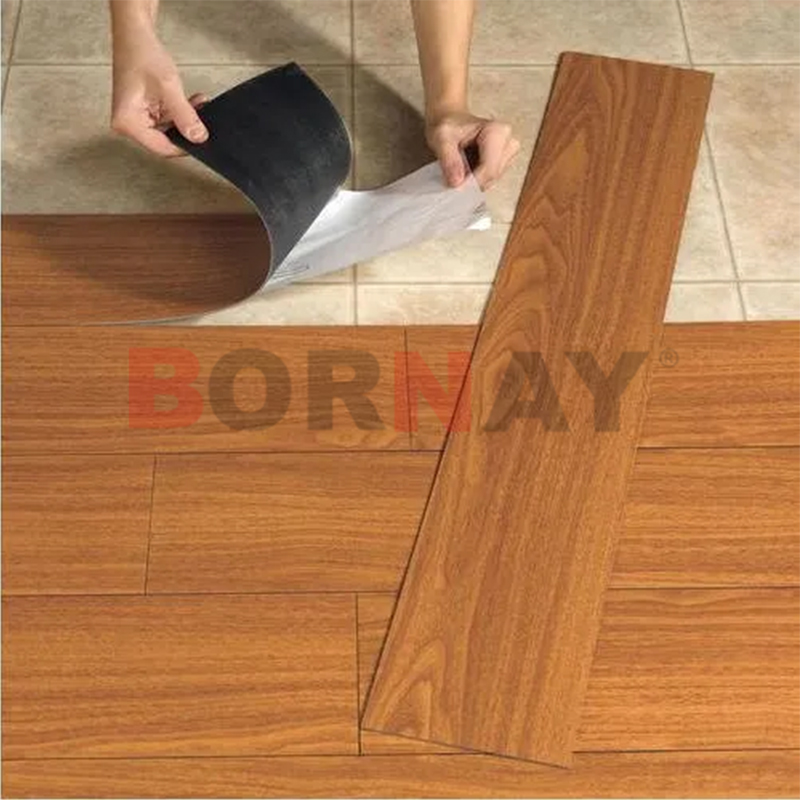
Step 5: After placing all PVC vinyl base boards, cut off any excess sheets. You may need to cut some sheets to fit the shape of the room. Cut the bed sheets with a knife according to the shape of the room.
Step 6: After placing all PVC vinyl flooring and trimming as needed, allow the adhesive to dry for at least 24 hours before walking on the floor. Then, wipe the floor with a damp cloth and you can use it.
In short, installing PVC vinyl flooring is a DIY project that can
